
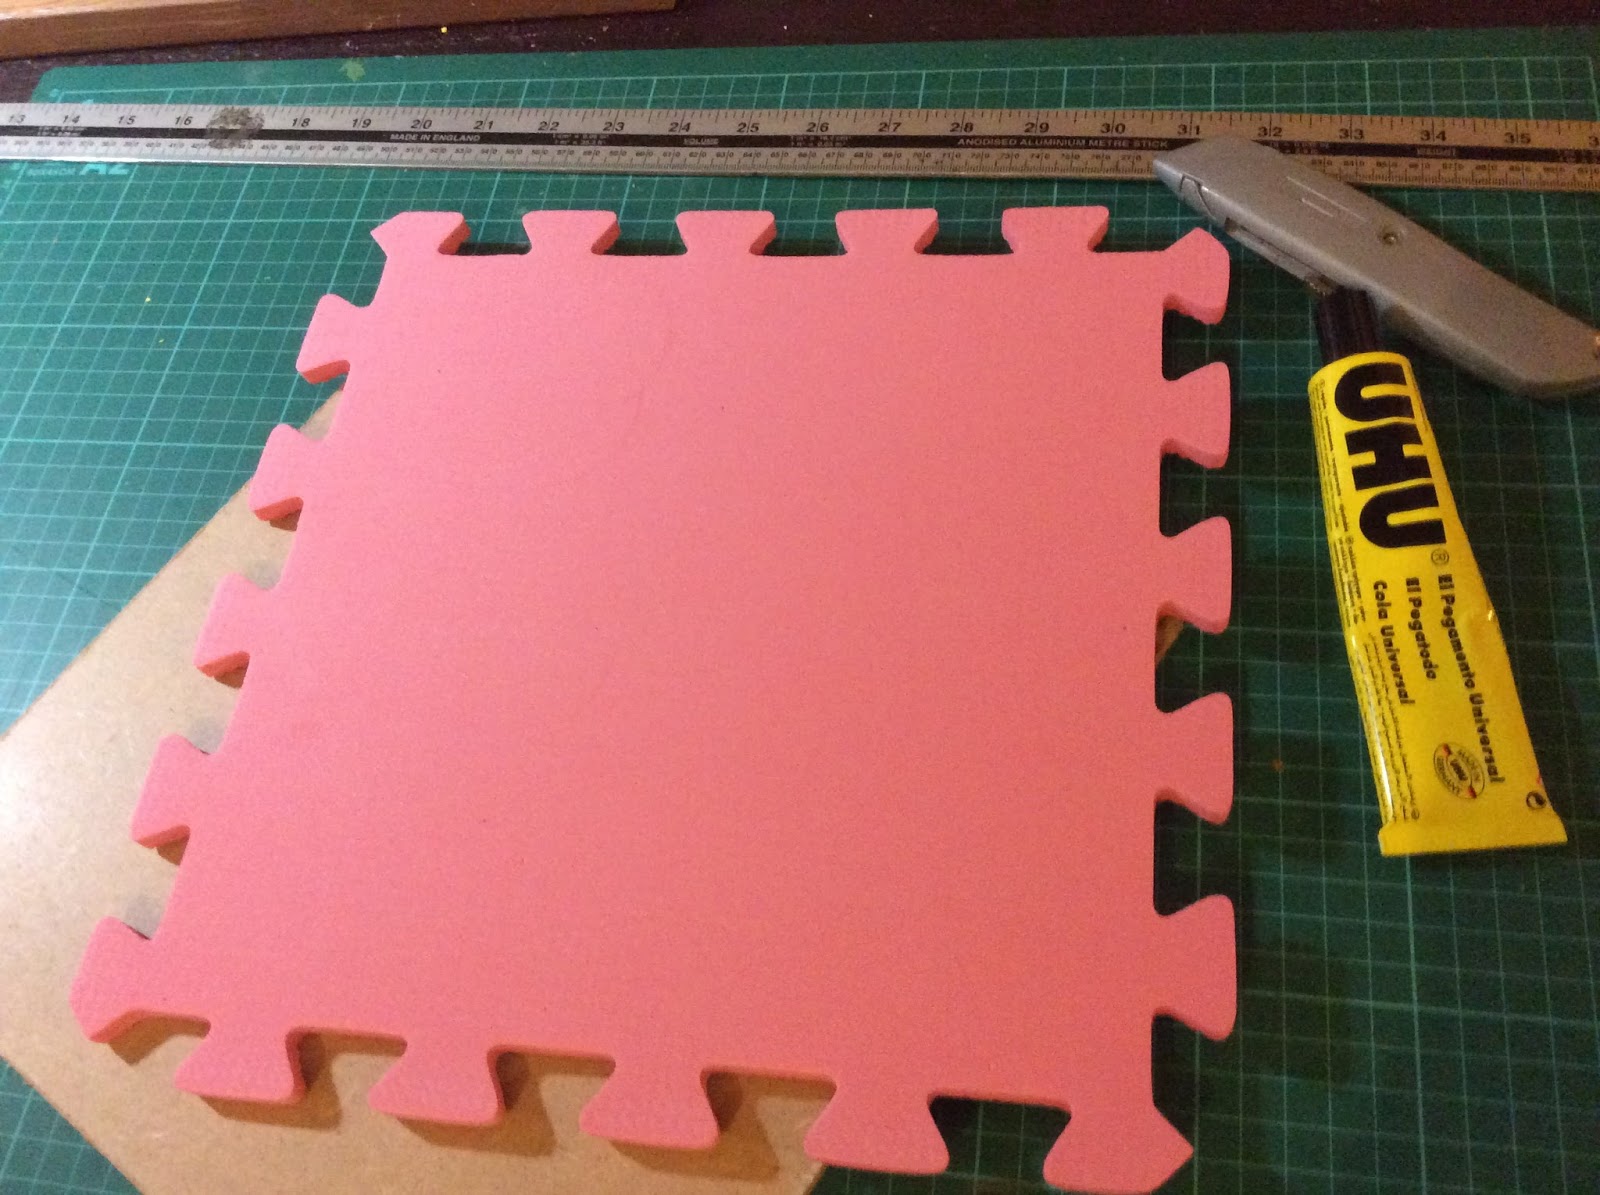
First I cut a 27.5cm sqare from 6mm MDF.


I then reassembled the foam tile with the teeth in the middle and glued it onto the MDF square.
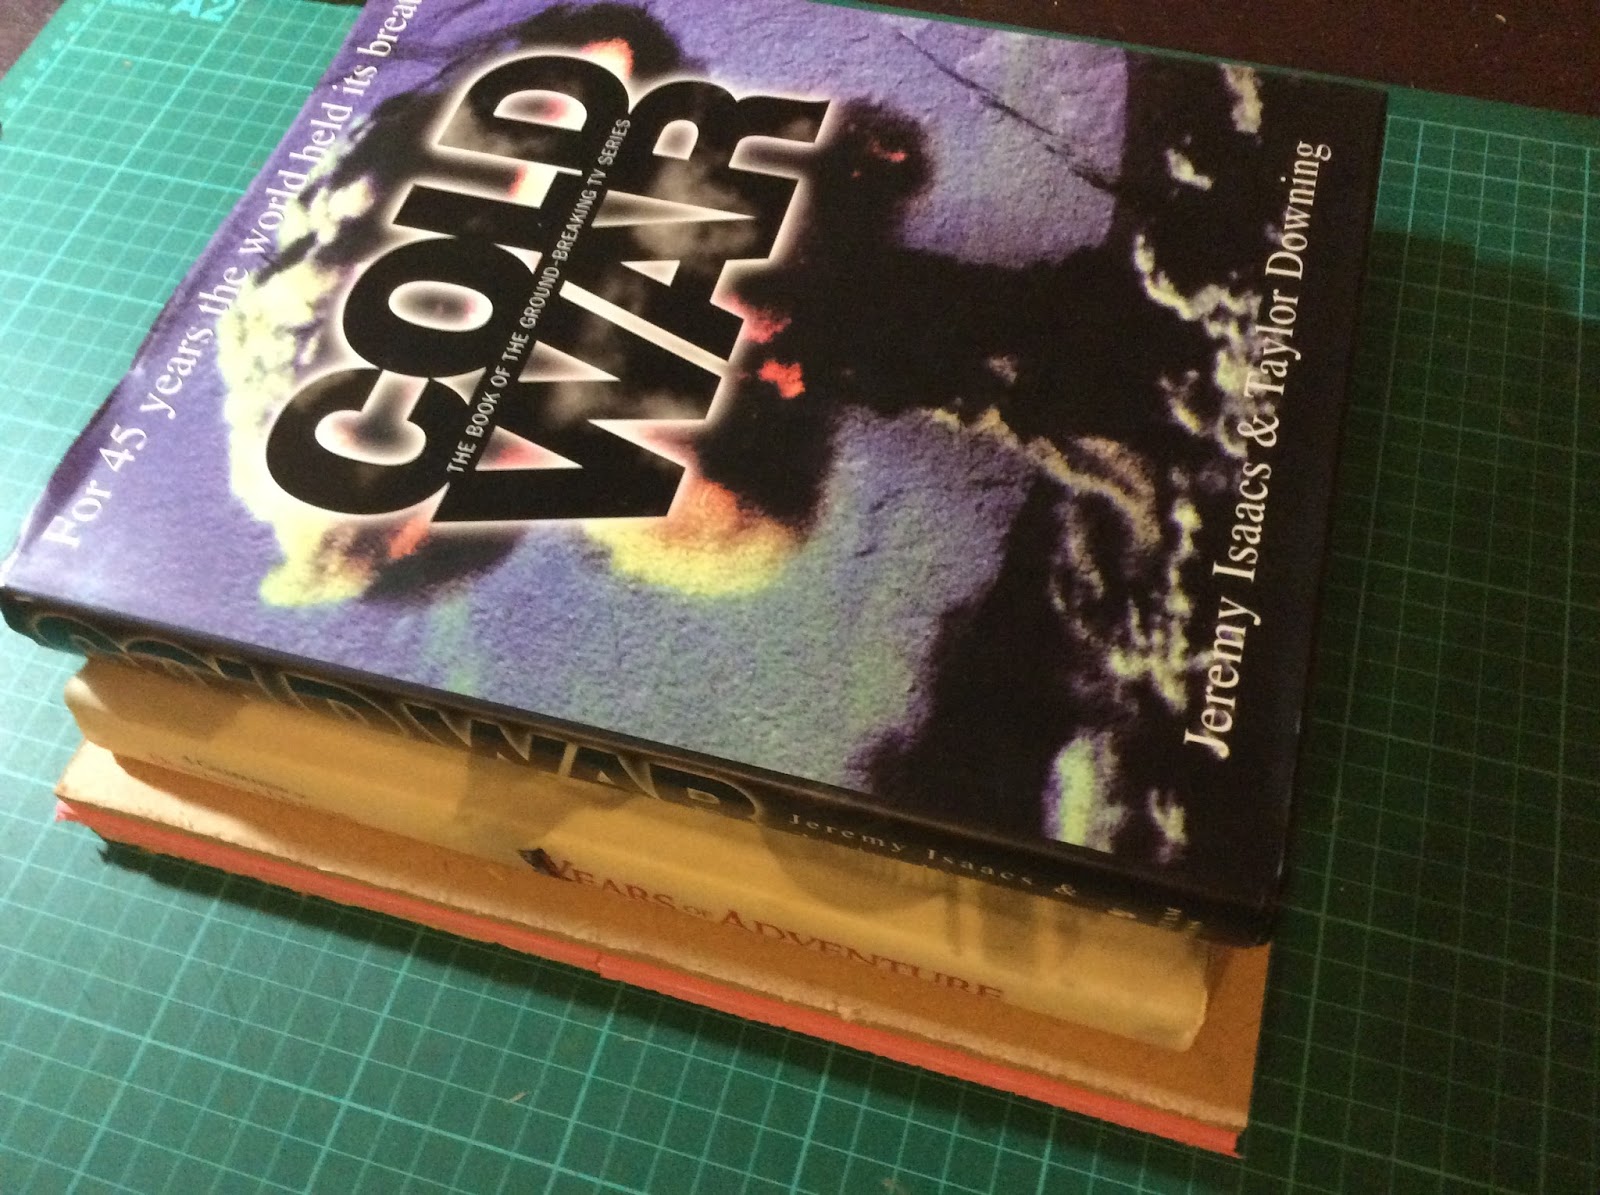
A second MDF square was placed on top to keep it flat and then this was weighted down with books and left to dry overnight.

A section was cut from another foam tile and glued to the corner.

And then a smaller section cut and glued on top. I made both sides of each level the same length to allow these to join up with other hill sections.

I then covered over the teeth of the foam mat with filler and gouged out some rocky depressions in the bottom right corner.

A couple of coats of paint cover up the tile colour.

Sand was then glued on, leaving the parts I want to appear as rocks clear.

Another coat of paint, left overnight to dry because the sand really slows down the drying time.

Drybrushing over the sand to bring out the texture.

Base coat for the rocky bits.

Then they are drybrushed too, and the tile is complete.

Add some alien plants and a few Daleks and it's ready to use. :)
Good work Victoria - that looks really good & inspires me to get on with my own boards
ReplyDeleteThanks. :)
DeleteLooks great. What kind of glue did you use to attach the sand? Just regular PVA?
ReplyDeleteYes, I use either regular PVA or wallpaper border advesive (which seems to work the same), and of course the top coat of paint sort of works as a second glue on it.
Delete