
Today I played my first game using the ACW rules in Wargaming: An Introduction. Whilst having a lot in common with most of his other rules these rules add some concepts I don't think I've seen elsewhere in his work, and it gives the game it's unique flavour.
Firstly, infantry and cavalry are rated as either Elite, Average or Militia for morale purposes. The clever thing is, you can play that you don't know what they are till the first time they have to make a morale check. The quality is determined by rolling on tables split by Union or Confederate, Infantry or Cavalry, and Early, Mid or Late war.
The next change from his usual practice is what happens when you fail a morale check. Usually this causes a base loss in his rules, here it only causes a retreat unless such a retreat would take the unit off the table, in which case it loses a base.
And finally, units can try to rally to recover bases if they start the turn with no enemy in position to fire on them. Higher quality units have more chance of rallying.
The net effect of these rules makes for a game very different from his usual ones.
I decided to start at the beginning, with an early war battle. Army lists are fixed for each period of the war, though the Union has the choice to have it's artillery equipped with smoothbore or rifled artillery. I opted for all smoothbore.

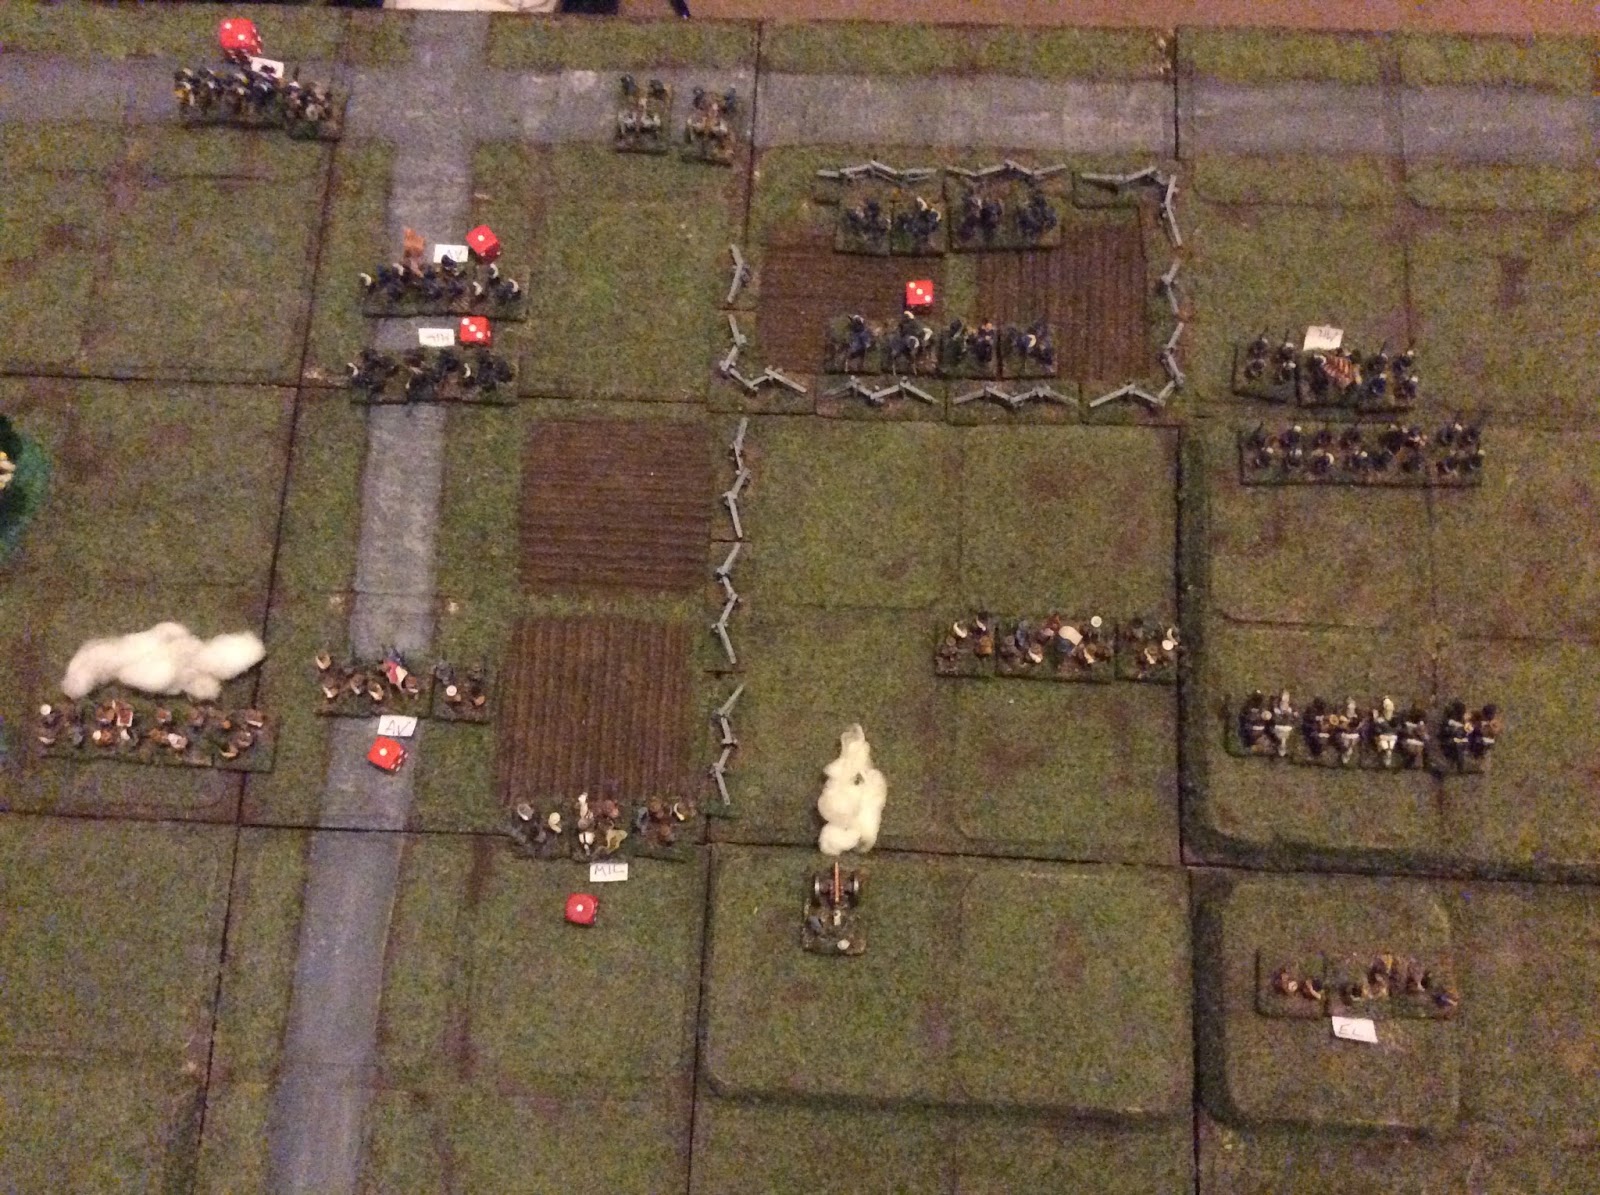
Initial deployment. The Union have gone for two lines of infantry with the cavalry on the right flank. The less numerous Confederates are in a single line with both their cavalry on the right too.

The Union advances and it's artillery score first blood on the infantry opposite them.

The Rebs advance too, their artillery moving into a firing position on the hill.

Another hit scored by the Union infantry, and I discover units move at half speed in fields. I should really check that kind of thing before I deploy the armies, shouldn't I?

The Confederate artillery gets into action and their left sweeps forward. On their right a unit of cavalry moves forward and dismounts.

The closest infantry are now in firing range and open up. Units either move or fire in a turn, not both. The right flank keeps moving forward.

Having sown the wind the Union infantry unit reaps the whirlwind. It loses a base and has to take a morale check. It turns out to be of average quality and fails the test, falling back a full move, passing through the unit behind it.

The Union unit finding itself in the front line now advances into range, with the cavalry moving up beside it. On the left infantry open fire on the dismounted cavalry.

The Rebs cause a base loss to the unit that moved into range. It is militia quality, fails it's morale and falls back, On the other flank the dismounted cavalry open fire.

The Union cavalry tries to charge but fails it's morale test to do so (Militia). The dismounted Confederate cavalry loses a base to fire but is elite and passes it's morale test.

The dismounted cavalry cause a base loss, it turns out they are milita quality and fall back.

Confederate units fall back under the weight of fire they face. The Union cavalry again fails to charge.
Confederate cavalry moves up ready to charge and the dismounted unit rallies a base back. The Union cavalry is milita and falls back after taking a loss.

The Confederate cavalry lose a base. They are elite, but fail their morale anyway.
The infantry who moved up beside them are forced back too (Average).

The Confederates push forward again.

This time fire fails to force them back.

The cavalry charge in, losing a base to defensive fire.

They lose the melee too and fall back, only one base surviving. A Union militia unit in the middle retreats.
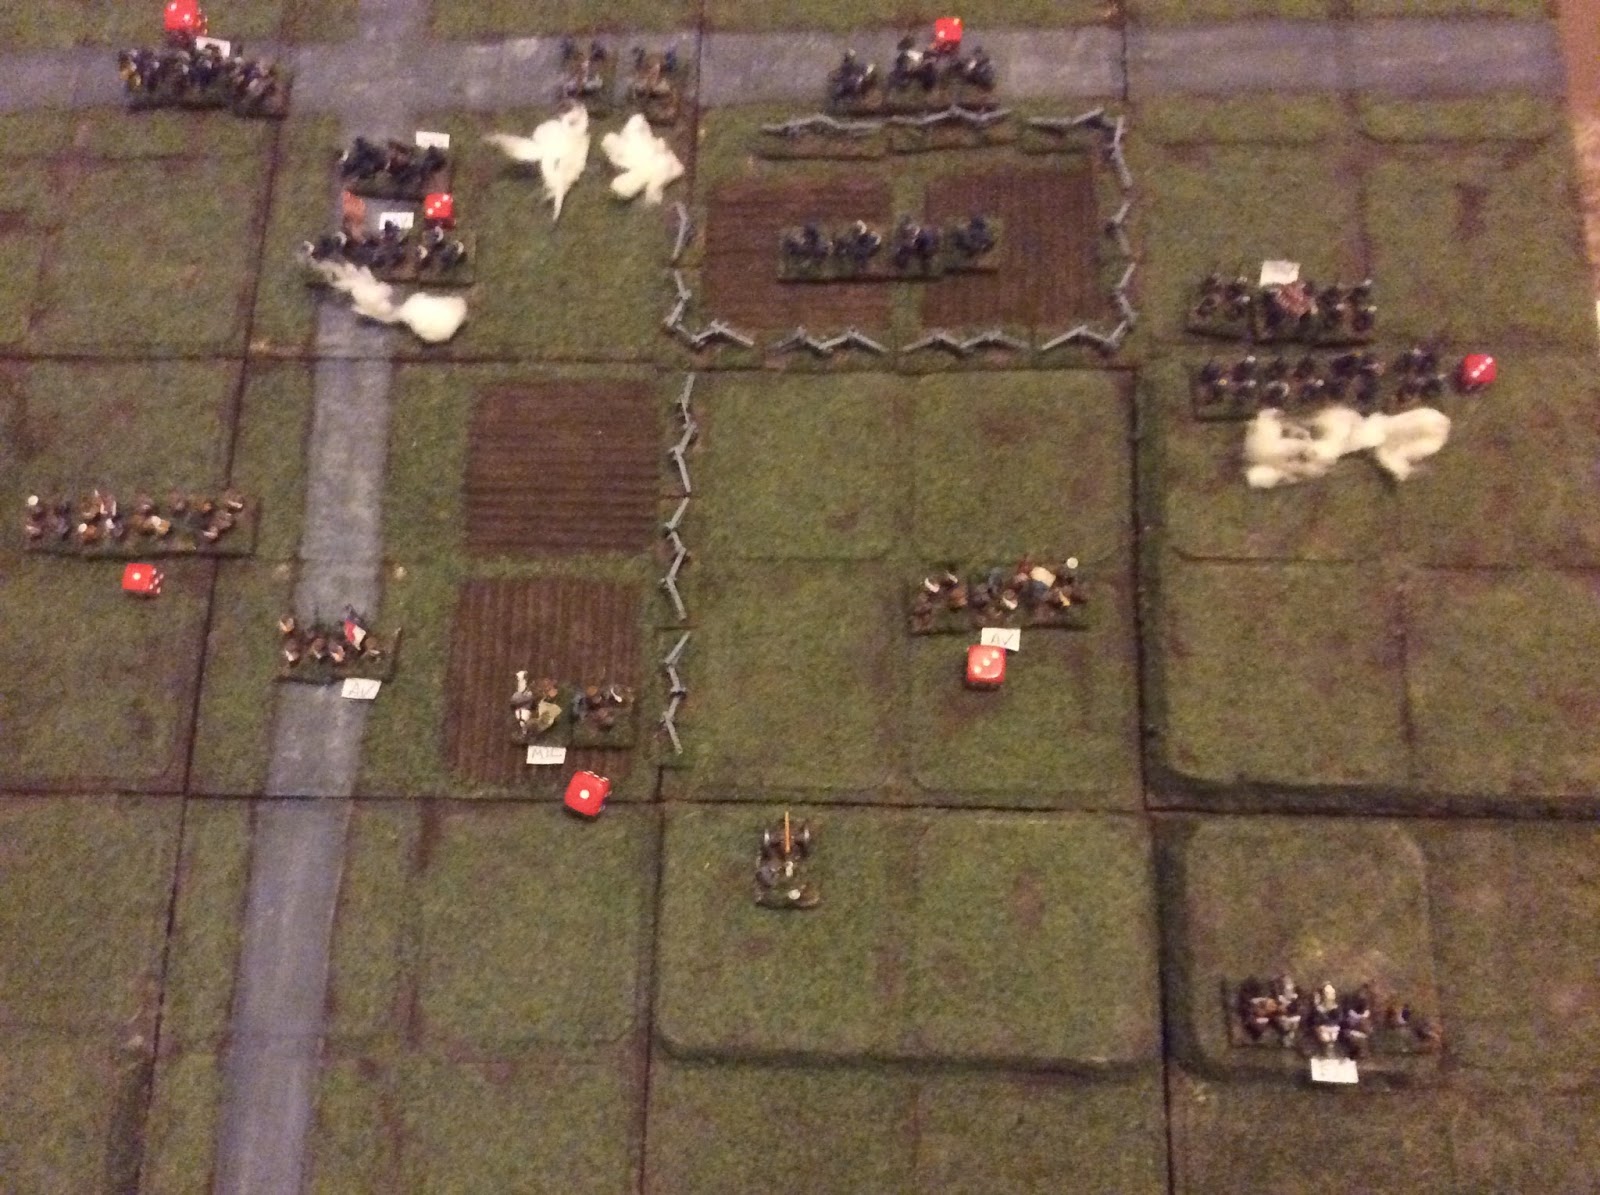
The cavalry unit loses it's last stand to fire, and on the other flank units are worn down.

The other cavalry unit moves up to see if it can be more successful.

The Confederate line is looking terribly thin.

Another charge, another base lost to defensive fire.

But this time the cavalry wins the melee.

The cavalry is almost destroyed by the unit revealed by the retreat, and falls back.

The cavalry withdraws to rally.

The last full strength Confederate unit loses a base, and it's game over as the Confederates withdraw from the field of battle.
I'm glad I chose an early war battle, as having no idea what the best tactics would be seems most appropriate for this period. 😛
Depth of formation seems important, having a second line as backup really seems to be an advantage. Even elite units will fail their morale check half the time, milita only pass on a roll of 6, so that second line will be used.
Cavalry is a problem, dismounted they have half the range of infantry, mounted they will take fire moving into range and then again for defensive fire. I should have probably kept them both mounted and had them move up together rather than go in piecemeal.
Artillery is effective but not over powerful, it's more a gradual attrition.
I enjoyed the game, I think it would be even better with larger armies (though maybe the same number of cavalry units because I don't have a clue how to use them!).
Cool fight, and glad to see the right side one! Cool minis, too, but just a tad bit letdown they weren’t cuties, worms, bunnies, or something! ;)
ReplyDeleteV/R,
Jack