
Another day, another game. Lion Rampant again, this time Scenario L: Bloodfeud. The attacker must kill the opposing leader, the defenders must survive the fight with their leader alive.

The attackers, a unit of Foot Men-at-arms led by Sir Hugh of Barnwold. a unit of Mounted Serjeants, two units of Archers and two units of Yeomen.
Sir Hugh is Rash, meaning he must charge to contact whenever possible.

The defenders, a unit of Foot Men-at-arms led by Sir William of Oxton, two units of Expert Archers and a unit of Expert Foot Serjeants.
Sir William is Commanding, allowing him to re-roll one failed activation test per turn within his command range.

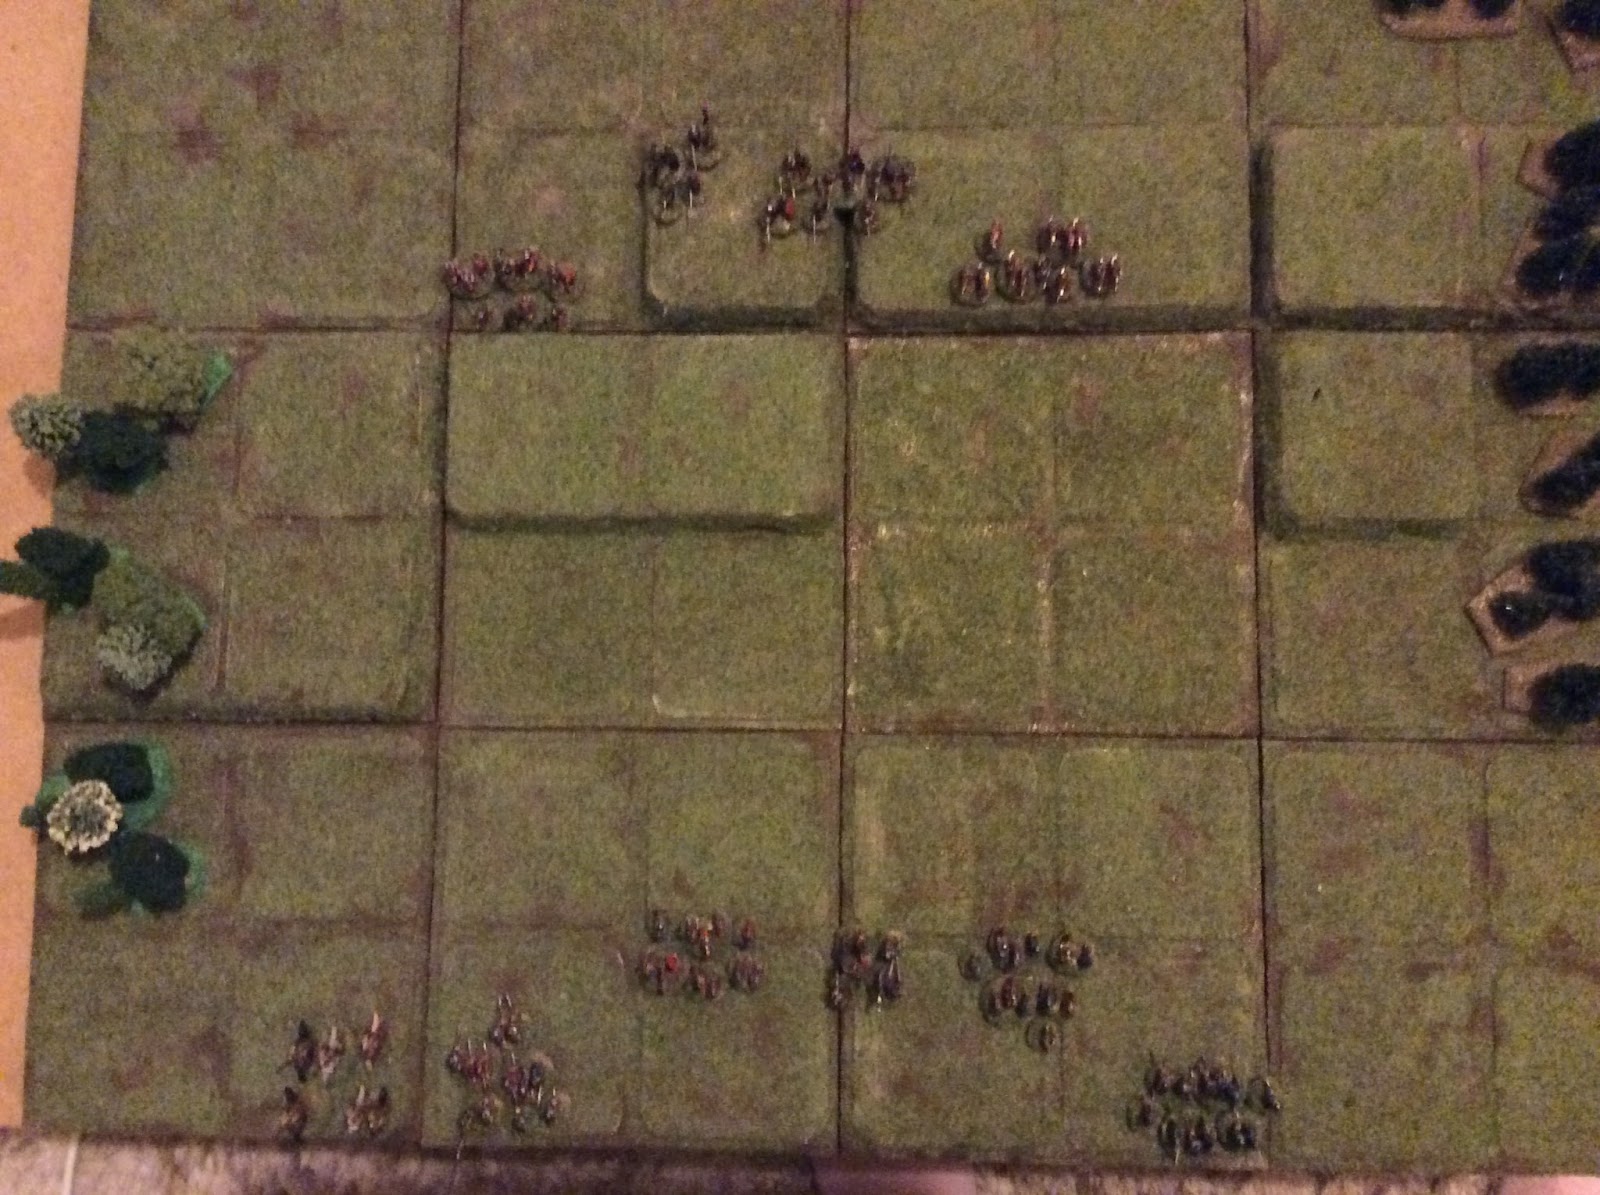
Initial deployment, Sir William at top, Sir Hugh at the bottom. From left to right Sir William has Archers, Men-at-arms, Serjeants and Archers. Sir Hugh has Mounted Serjeants, Yeomen, Archers, Men-at-arms, Archers and Yeomen.

Sir Hugh fails to get his men to move, perhaps because he can't see the enemy behind the hills. (Or maybe he had bad luck on the dice for his activations.) Sir William's men sneak up behind the hills.

Sir Hugh's men still can't see the enemy so stand where they are, looking around. (Or they need better dice, this is getting a bit silly how low they roll when trying to activate.)
Sir William pushes his archers forward on both flanks, and one unit crests the hill and spots the enemy line.
With the appearance of the enemy on the hill Sir Hugh advances supported by archers on both flanks.
Sir William's troops continue to move forward, more units appearing on the ridge.

Both sides continue to close the distance between them.

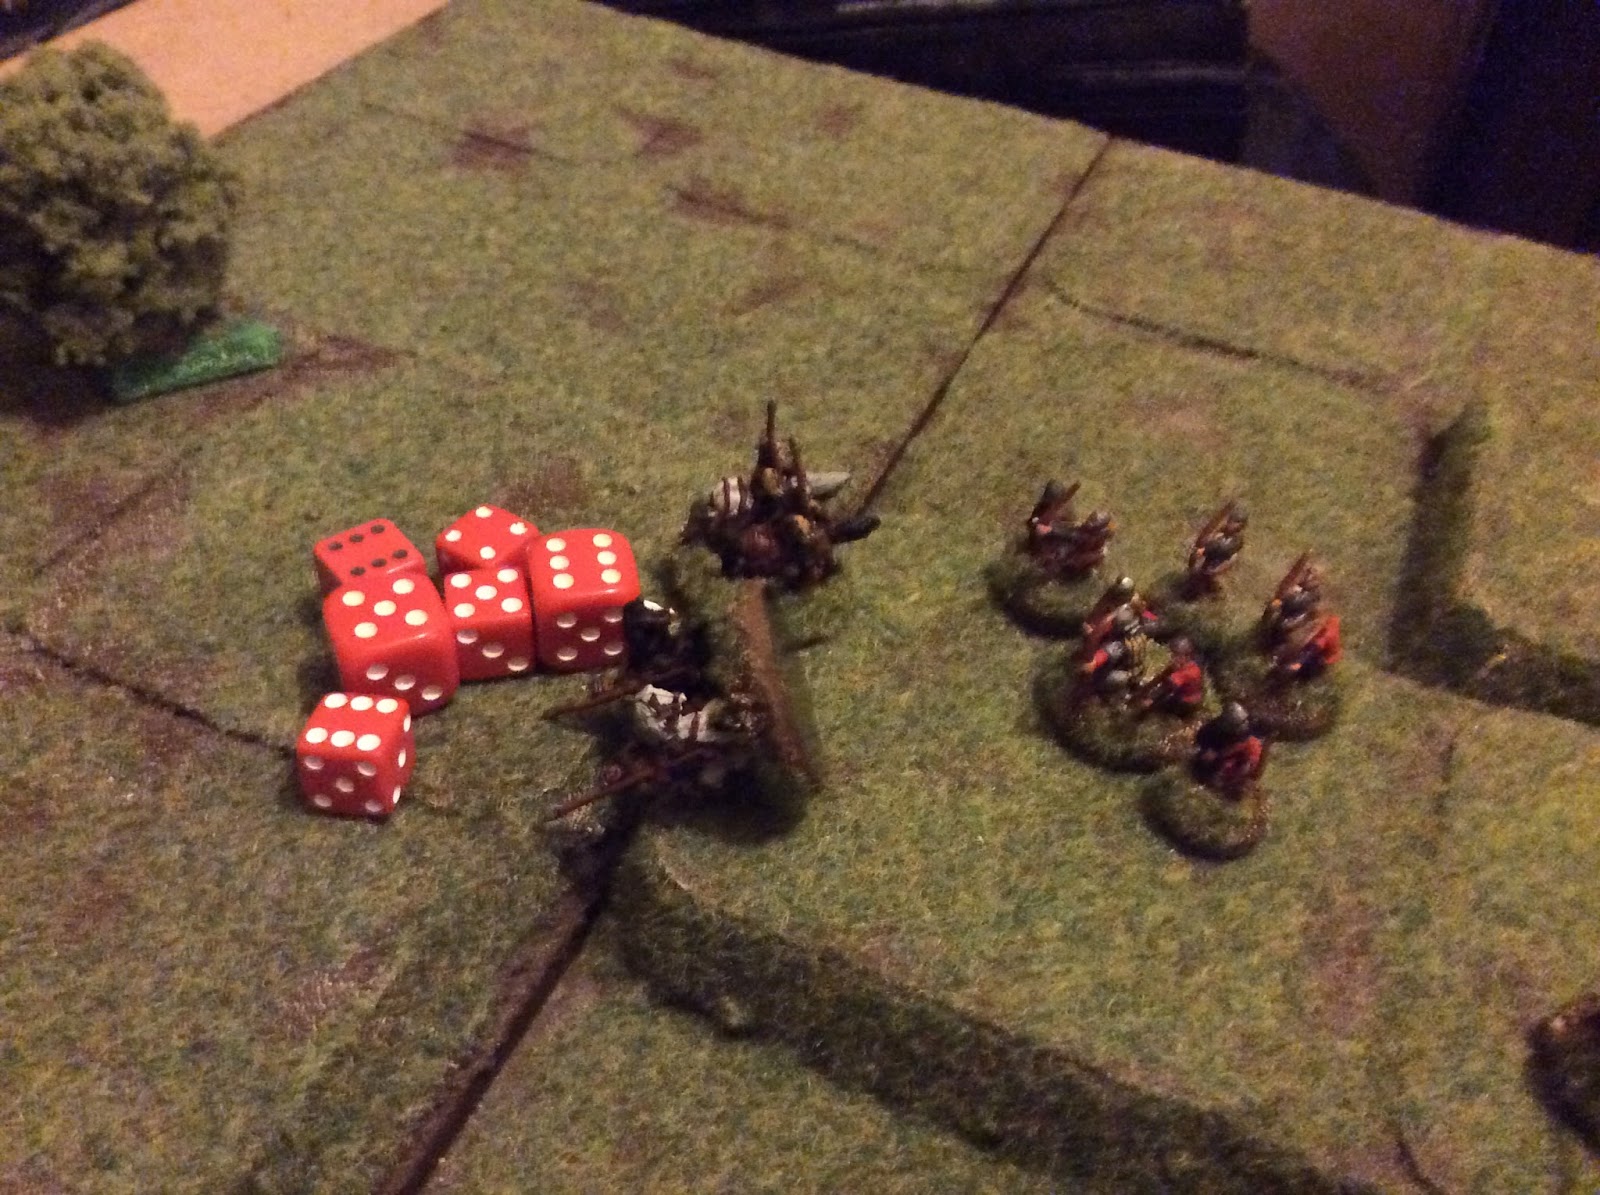
And the archers on Sir Hugh's left come into range and are targeted by the archers on Sir Williams right. Four men are killed (there should be eight dice showing, the other three are just out of shot to the left).

Sir William's men continue to advance, trusting in quality over quantity.

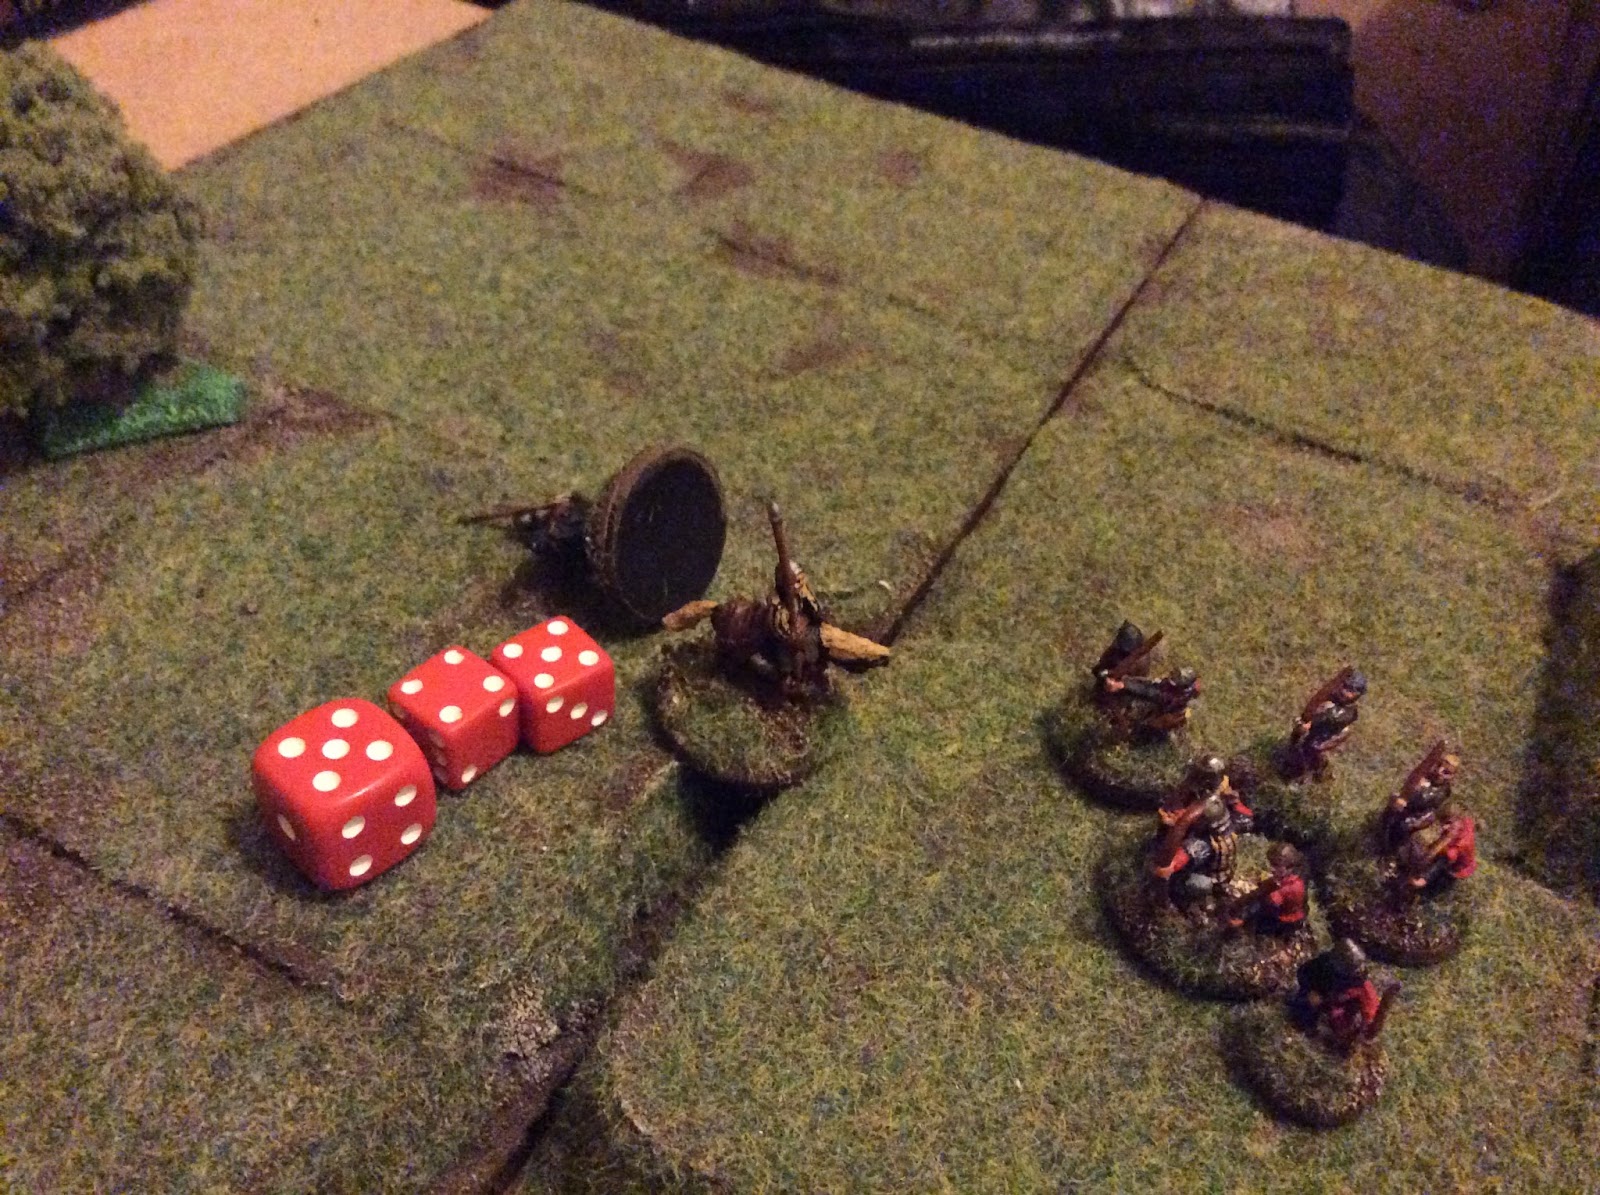
The Mounted Serjeants move up to threaten the archers and one of them is knocked from his saddle by a well aimed arrow.

Sir Hugh still has trouble getting his men to move as Sir Williams units move in for the kill.

The Cavalry charge in cutting down three archers for the loss of only one of their own.

The archers back off but both sides pass their courage tests.

On the other flank Sir Hugh's archers knock an opposing archer out of the fight.

And his other archers kill a Foot Sergeant.

Sir Hugh manages to get his Yeomen moving forward and spots Sir William lurking well to the rear, the cowardly dog!
As Mounted Serjeants prepare to charge in again the archers fill two of them full of arrows, giving the survivors reason to hesitate and consider flight.

The other archers target Sir Hugh, but hit one of his men behind him instead.

The Expert Foot Serjeants come down off the hill knowing Sir Hugh won't be able to resist charging into them.

Which he rashly does. He loses another man but cuts down two of the serjeants personally.

The serjeants fall back but both sides pass their morale tests.

Another serjeant falls to archery.

And they break, fleeing the field.

One of Sir Williams archers on his left flank does an excellent impression of a pin cushion and falls down dead.

And their nerve goes! They fall back disordered.

They attempt to rally but fail, falling back further, one of them running away.
Trying to salvage the situation the other archers knock another rider from his saddle.

The lone survivor decided he wants to remain a survivor and gallops off into the distance never to be seen again.

Revenge is is swift however at the hands of Sir Hugh's archers.

Sir William's other archers fail their rally attempt again, and another one of them heads for home.

A Yeoman is killed on Sir Hugh's left flank, prompting a morale check.

Which they promptly fail.

And fail to rally too, losing another man and falling back further.

Sir William had moved up and Sir Hugh rushes at him seeking revenge. A man falls on each side but the leaders remain unharmed.

Sir Hugh backs off, both sides passing their morale checks.

The archers try to even the odds by felling one of Sir William's men.

Another failed rally attempt by the ever retreating archers.

But the brave ones on the other flank get another two kills.

And their targets fall back disordered.

With Sir Hugh's Men-at-arms reduced to half strength Sir William goes in for the kill, cutting down all but Sir Hugh for the loss of one of his own.

Sir Hugh calls on Sir William to settle this man to man. Considering how outnumbered he is Sir William accepts the challenge.

And with a mighty stroke cuts Sir Hugh down!

This prompts a series of morale checks which are failed by the two central units.

Fortunately the rally attempts went a little better.

While everyone else was rallying the Yeomen on the right made a beeline for Sir William while his ever retreating archers finally rallied (they later claimed it was a feigned withdrawal, the men we thought were running away were going to get more arrows).

Emboldened (and not having noticed the rallied archers), Sir Hugh's men advance on the sorely outnumbered Sir William.

The 'feigned withdrawal' archers kill two Yeomen.

And the 'we've been doing all the work, where the heck have you been?' archers fell another three.

Miraculously the Yeomen pass both courage tests with flying colours.

Even more miraculously the badly damaged archer unit of Sir Hugh's which had been retreating unmentioned for the last few turns passed it's rally check. Only now I look at it again it didn't, 12-9 =3, morale 4+. Hmmm. But they rolled a 12, lets just say they passed, they deserve to. 😀

They then go and spoil it by failing their first activation roll, so it's pin cushion time again as the feigned flight boys kill another two Yeomen.

There's only so much punishment a unit can take, and these guys have had enough. They flee.

That takes the late Sir Hugh's forces below half strength so it's courage tests all round. The unit I mistakenly let rally on double sixes corrects my error by running away.

More arrows fly, three more of Sir Hugh's men fall.

And another unit flees the field.

The remaining unit passed it's test for being the only unit left but then failed it's activation roll.

Three of them die, wishing they had failed the morale test and fallen back out of range.

The survivors decide not to make the same mistake twice, and rout.

And so Sir William won the day. He never really knew what Sir Hugh had against him, and it's too late to ask now...
I enjoyed that. Thank you :)
ReplyDeleteGlad you liked it :)
Delete