

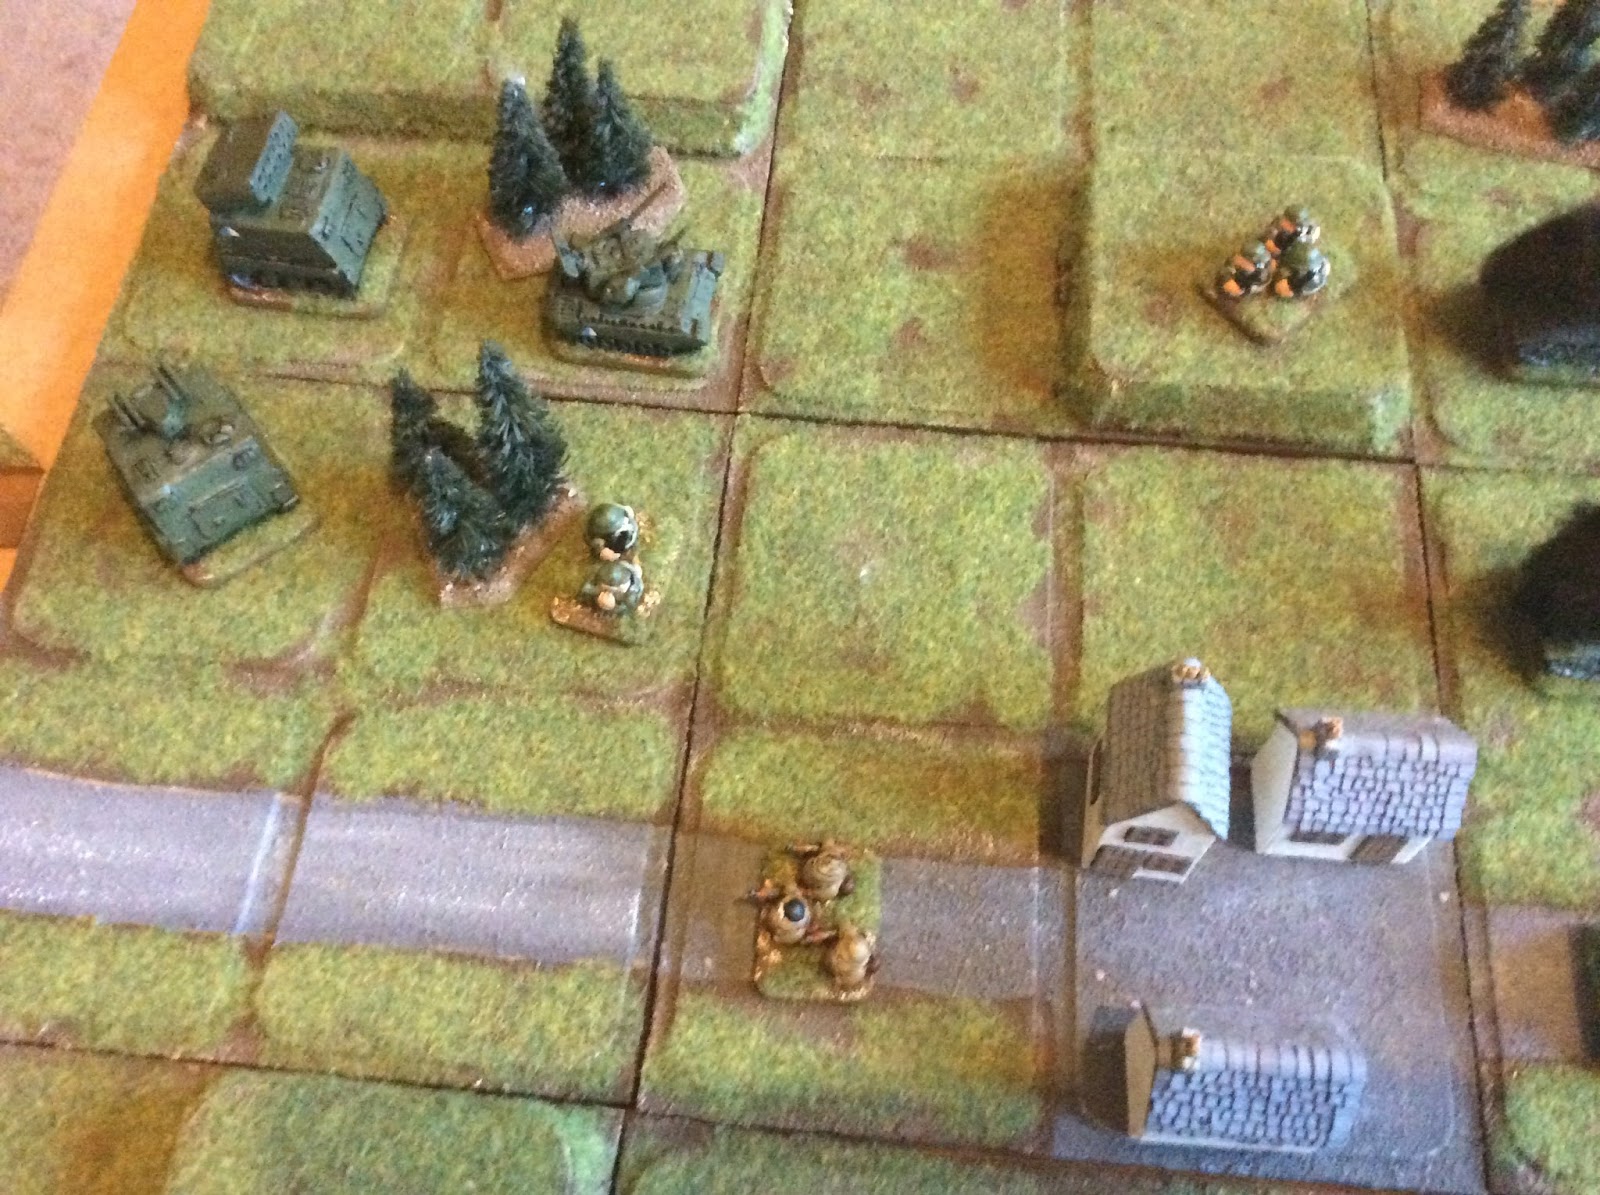
To the left are the defending forces. Infantry in A2, B2 and D4, ATGM infanty in C2 and F4, a Bunny APC in E2, a Woodpecker SPAA in C1 and finally a Thumper SPA in B1. They also have 3 Moggy IIs arriving on turn 6.
To the right, off map at the start, a company of QT74 MBTs, a company of Bumpy IFVs with infantry loaded and a Kyuteyusha SPA. One airstrike is also available.

The first two activations for the attackers see them bring all their units on board. The tanks take up position to fire in support of the Bumpy's advance on the village with the Kyuteyusha in a safe position to the rear.
The third activation sees all three tanks and the artillery fire on the village. The defending infantry disappears never to be seen again...

The Thumper tries to knock out the lead Bumpy while it is still loaded with infantry but has no effect.
The two infantry units on the left flank advance towards the hill and wood while the Woodpecker advances into the woods they vacated. On the right the Bunny pulls back to hide behind the hill.

Two activations are used to call in the airstrike on the Woodpecker. Half the squares around it contain targets so there's a good chance of multiple hits. The woodpecker fires at the plane and misses. Bombs away!
The dice see the hits scatter to an empty square then back in on the Woodpecker, for no extra effect. One chance to hit and it misses!

The third activation sees the Bumpys advance and two of them drop off their infantry, one occupying the village and the other moving to where it can attack an ATGM infantry next turn (Infantry may not fire and move in the same turn).
The fourth activation sees the Bumpy's combine fire on the ATGM and miss. If the Infantry had been able to join in it would have cancelled the terrain modifier for being in woods.
The first action by the defender is to fire the ATGM at the Bumpy next to the town for free but it misses.

The infantry on the left flank continues to advance and the Woodpecker and Thumper combine fire on the village to no effect.
Poor dice see the turn end after only 2 activations.

The Bumpys attack the ATGM again, this time with infantry support but fail to hit them.
The tank company with artillery support opens fire on the infantry on the hill and blows them away. That's twice they've attacked and twice they've destroyed their target. Unfortunately this made me a little over confident with them...

They come charging forward to sweep all before them, or so they think...

The ATGM takes a free shot at the tank and rolls an 11. BOOM!!!!
The other ATGM tries to take out a bumpy but harassing fire from the adjacent enemy infantry throws their aim off.

The Bunny pops back up onto the hill it was hiding behind and sends an ATGM at the tank company commander. The Thumper and the infantry adjacent join in and BOOM!!! there goes another tank. So much for the unstoppable charge...
The Woodpecker fires on the village to no effect.

A third attempt to clear the ATGM unit from the woods is finally successful...

And the infantry unit advances after combat.
The infantry in the village advances up the road.

The surviving tank pulls back onto the hill where the tank company started their disastrous charge from.
The Bunny fires at the HQ Bumpy but misses, then pulls back beside the Thumper while the surviving infanty on the left flank advances onto the hill.
The Thumper tries to hit the infantry on the road but misses.

Realising it's all down to the mechanised company now they push forward, the one with infantry left on board unloading them next to the remaining ATGM infantry in the wood.
The tank, artillery and adjacent Bumpy fire at the infantry on the hill but to no effect. The infantry on the road misses the ATGM infantry too.

The woodpecker fires at the closest infantry and destroys it, clearing the way for the ATGM infantry to blow up the Bumpy they had just dismounted from. BOOM!!!
The Thumper misses the infantry on the road again.

The third activation sees the Bunny move back onto the hill intending to fire on the HQ Bunny as the fourth activation, but the turn ends before it can.

The infantry on the road fires at the ATGM and misses, as does the Bumpy firing on the Bunny. The infantry in the woods moves up.

The Bumpy in the village fires on the Woodpecker. BOOM!!!

The Bunny on the hill falls back next to the Thumper again and the reinforcing tank company arrives in line on the right flank and concentrates fire on the Bumpy HQ.
And misses.

The Infantry on the road move to protect the village from the infantry on the hill.

The HQ Bumpy and the infantry in the woods fire at a tank each. Combined fire on one target would be more likely to get a hit, but this is a time for hoping for ridiculous luck to turn the tide. They both miss.

The ATGM misses the bumpy in the village but three tanks plus artillery make short work of the Bumpy HQ. BOOM!!!

The infantry on the hill destroys the infantry next to them...

And advances next to the village.

Tank, Bumpy and artillery combine to punish the victorious infantry but miss.

The Bumpy pulls back down the road.

And the infantry falls back through the woods.

The tanks advance to form a line centred on the village.

And combine to knockout the last tank. The surviving attackers hightailed it out of there at this point.
I think the rules worked perfectly, they gave a fast moving exciting game and after the first couple of turns I didn't have to refer to them during play. Converting them to a square grid seemed to work out ok too. I need to paint up the rest of the units I have and make some more terrain tiles so I can try a bigger battle next time. :)
Wow, that was cool as hell! I loved it, great looking and straight forward. That was very interesting, the US cuties sacrificing the Mech Inf, holding the tanks back until the USSR cuties exhausted themselves.
ReplyDeleteSo, how long did that take? I know you're going to build more terrain tiles, did that feel cramped? Were you playing solo(did you use the game's suggested mechanism)?
Sorry for so many questions, I still haven't played. From my reading of the rules, seems like it's hard to kill stuff, but I saw plenty of burning vehicles son your table!
And I get the group fire concept, but can ATGs/ATGMs do that? I know they shoot for free, but how did they feel? They seem underpowered/undervalued.
Anyway, thanks for posting this Vicki.
V/R,
Jack
Glad you enjoyed it Jack. :)
DeleteThe game took about 2 hours I think, but that includes a lot of notes and taking pics. Actual playing time was probably under an hour.
I think if I'd had any more units it would have felt cramped, though given their tendency to get destroyed maybe not for long. :p
It was solo per the mechanism in the rules, which works really well.
When you're firing it seems really hard to kill stuff, when you're being fired at it seems way too easy.
ATGs can join a group fire, but that counts as an activation. I think the extra free shot is worth more than a +1 on a group shot though I could be wrong about that. I think I messed up how I rated them, next time I'll probably give them the ability to move and to fire on infantry at range 1 (but per the rules, only fire at vehicles is free for them). I like them, they add a bit of variety. :)
Yep, if you get all your guys killed, the table opens up quite quickly! It's my specialty ;)
DeleteThanks for taking the time to answer all that, very interesting perspective.
V/R,
Jack
This is really quite fascinating. I greatly appreciate you sharing you effort, and your game looks wonderful.
ReplyDelete