Showing posts with label zombies. Show all posts

Thursday, 8 September 2016

Project Z Part 11: Painted zombies

And here they are, the first two zombie I've completed.


BEHIND YOU HANK!!!!!!


Project Z Part 10: Where Vicki does the happy dance

They worked :))))))))


Now I only need to paint and base them, and I have my first Cutie Zombies :))))))))))))))


Project Z Part 9: First test cast of zombies

The moulds hardened up nicely and opened without ripping, 


A little trimming of rubber from the hole I cast through and they get filled with resin plaster.


This is the nerve racking part, particularly because I'm sharing my potential failure online.  I cast one of my 19th century casualty markers at the same time, always best to do as much as casting I can at any point to avoid wasting the plaster I have mixed up.

I noticed too late that the air release paths I'd made in both moulds are blocked, the casts might still work but I need to trim the mould to open them up before the next time I use them.  Ooops.

Wednesday, 7 September 2016

Project Z Part 8: Painted Hank

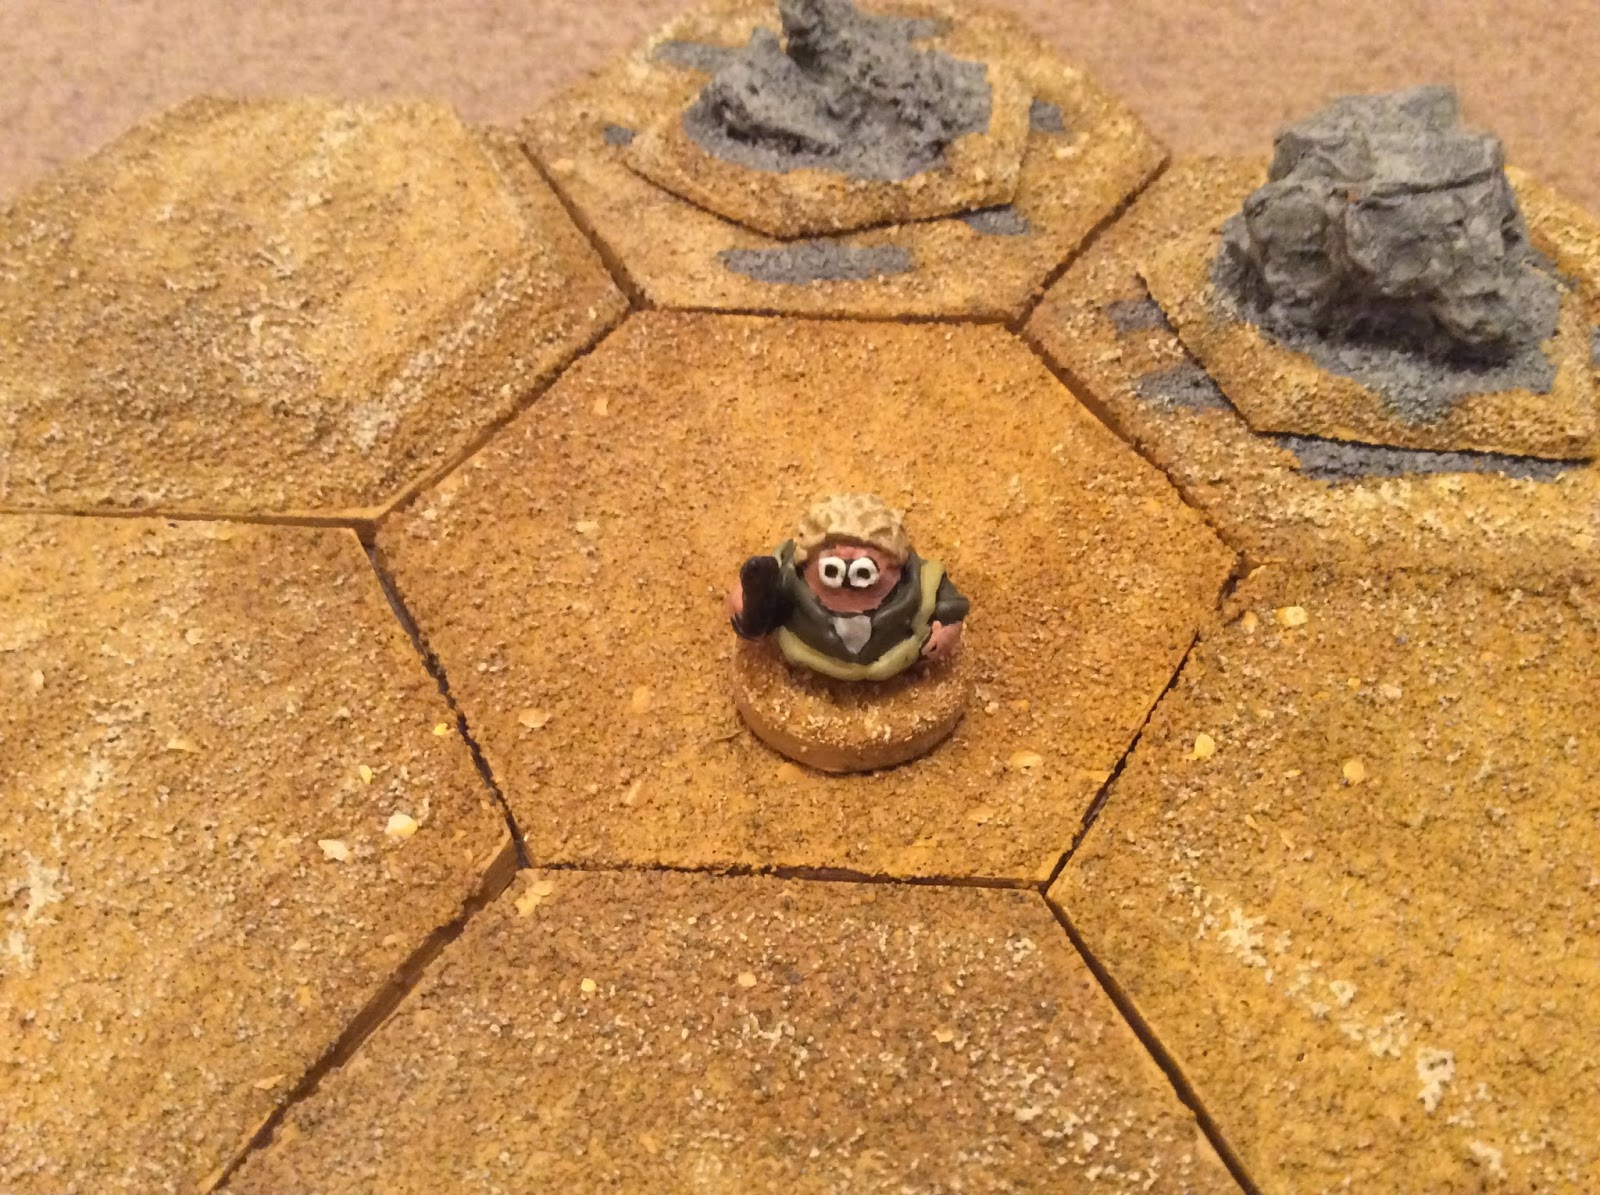
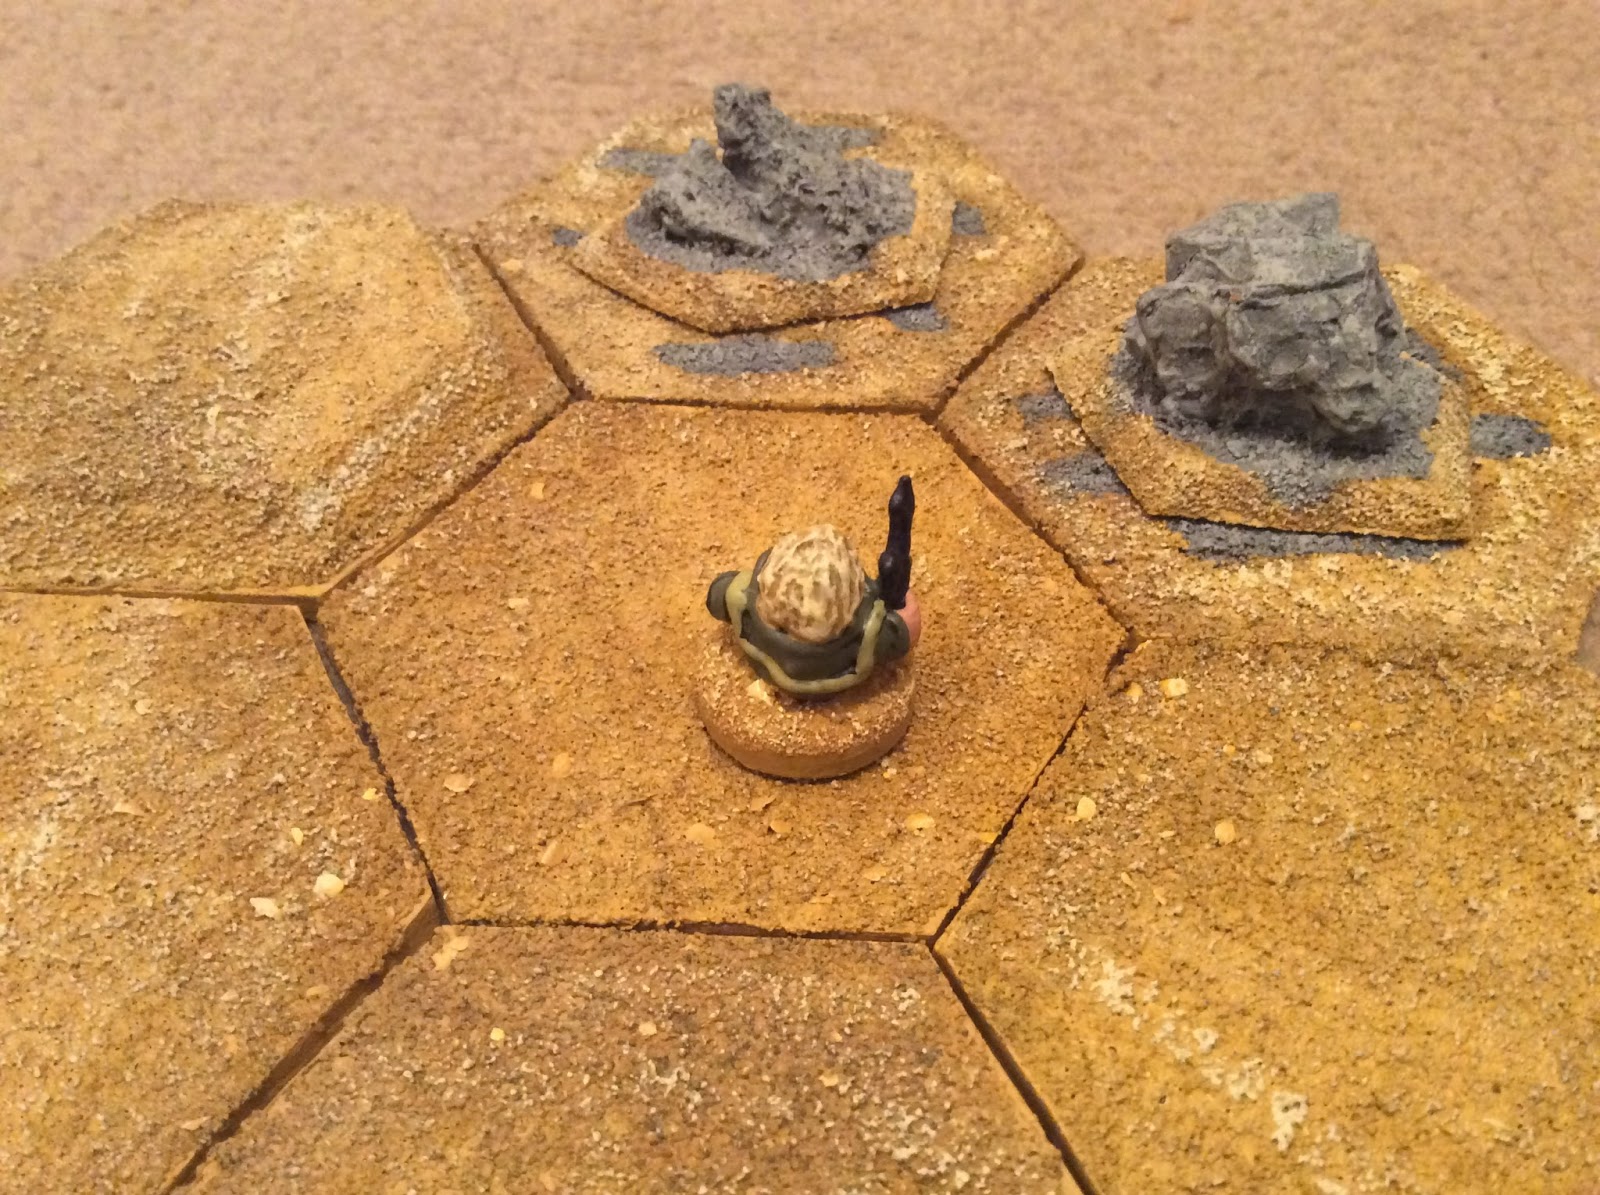
Hank is the first survivor I've cast and painted.  He's a National Guardsman in Nevada, on a roadblock outside the town of Normal when the zombie apocalypse begins.  He needs a haircut.


Tuesday, 6 September 2016

Project Z Part 7: Zombie moulds

The first two finished zombies move to the mould making stage.


The cocktail stick is to allow a path for air to escape from the arm when I pour resin in.


I hate this stage.  The master figures look rubbish, I have to go through two messy stages of pouring rubber with no guarantee both of them will work, then I have to see it the mould produces a good quality casting. And only then do I find out if the finished figure paints up to look as good as I imagine. 

Fingers crossed.

Monday, 5 September 2016

Project Z Part 6: The first zombie sculpts

I worked on the two master figures I removed from the mould earlier to practice making the zombies.  They don't look like much for now, but I should get better with practice.  


The figure on the left is in shirt and tie, the one on the right is in a t shirt.  Once cast and painted up they should look like that, anyway.  Fingers crossed lol


This little chap is only half finished.  He's a small child in a t shirt wearing his dad's sheriffs hat.  He needs a right arm holding a pistol and a star on his hat and he'll be ready to have a mould made of him.

Project Z Part 5: Master moulds complete

The moulds for the master figures I will sculpt the zombies on have been opened and seem to be ok.  I won't do the first casting from them till the end of the week but I have the two original figures that were in them available to work on for now.


One of the pegs in the mould (used to match the two halves together) hasn't worked, but the other two survived so disaster avoided.

Sunday, 4 September 2016

Project Z Part 4: Hank

I need some survivors to fight my zombies.  First up is Hank, a member of the Nevada National Guard.  


Saturday, 3 September 2016

Project Z Part 3: Second half of the moulds

The first half of the mould hardened up nicely overnight, so it was removed from it's Lego frame and the plasticine carefully taken off.


The other half of the pouring funnel was added with plasticine and the Lego frame rebuilt. The mould was coated in a thin layer of vaseline to stop the two halves of the mould becoming one solid block of rubber and then the top half was mixed and poured on.

This has now been set aside to harden, it should be ready to open in a couple of days but I won't cast from it for a week to ensure the rubber is fully cured.

My only point of worry is that the figures look a little too much like Nazi penguins at the moment...

Friday, 2 September 2016

Project Z Part 2: Making the moulds

The basic models have now hardened, so it's mould making time.  The figures are pressed into a bed of plasticine which is then built up around any parts which are raised.  A frame of Lego blocks is built around this to hold the rubber when it is poured on. The indentations in the corners are to form guides to keep both halves of the final mould aligned when I cast from it.  The purple bits will form the hollows the lead will pour down during casting.


The rubber is then measured out and the catalyst added to it and mixed in.  An extra layer of Lego bricks is added and then I paint the rubber over the figures and into the indentations in the corners before pouring the rest in to fill the mould.  A few good taps release air bubbles, then it's off to harden.  It should be ready to make the other half tomorrow.


Thursday, 1 September 2016

Project Z Part 1: The basic figures

I have decided that my my first resin range  will be zombies, with as much variety as I can manage in the look of the figures.  They will all be in the same basic pose with different clothing and hairstyles.

So, first task was to decide on a pose, which is to be right arm extended and left arm hanging down at their side.  The eyes, courtesy of my Grandson's suggestion, will be Xs.


The first stage was to cast a couple of the eggs which are the starting point of all my Cuties, a fat one and a thin one.  A hole was drilled in both and a small section of brass rod glued in and bent to achieve the arm position I want.  This will prevent the arm drooping before it hardens.

I then sculpted on the arms and eyes, giving the figures shown below.  The next stage will to be make moulds from these.