
Lion Rampant arrived from Amazon yesterday and I played my first game using these rules today. The rules are for large scale medieval skirmishes with 40 or 50 men a side. I decided to go to the very beginning of the period, with Normans against a Anglo-Saxons.

Leofric the Anglo-Saxon leader with his companions. These are Foot Men-at-arms in the rules, outstanding in all regards.

Two units of expert Foot Serjeants, very tough guys.

And two units of Foot Yeoman. Rather weak compared to the rest of the army, but they help make up the numbers.

On the Norman side, two units of Mounted Men-at-Arms with their leader to the fore, Geoffrey de Brix.

A unit of Archers, because hitting people too far away to hit you back makes sense.

And a couple of units of Foot Serjeants, not expert like the Anglo-Saxon ones but still pretty good in a fight.
I decided to go with Scenario A: Bloodbath. A simple fight to the death.
Leader skills were diced for, Leofric got Braveheart which makes him harder to hit in leader challenges, Geoffrey got Vulnerable which makes him more likely to be killed if his unit takes casualties. Geoffrey's life insurance premium just went up.

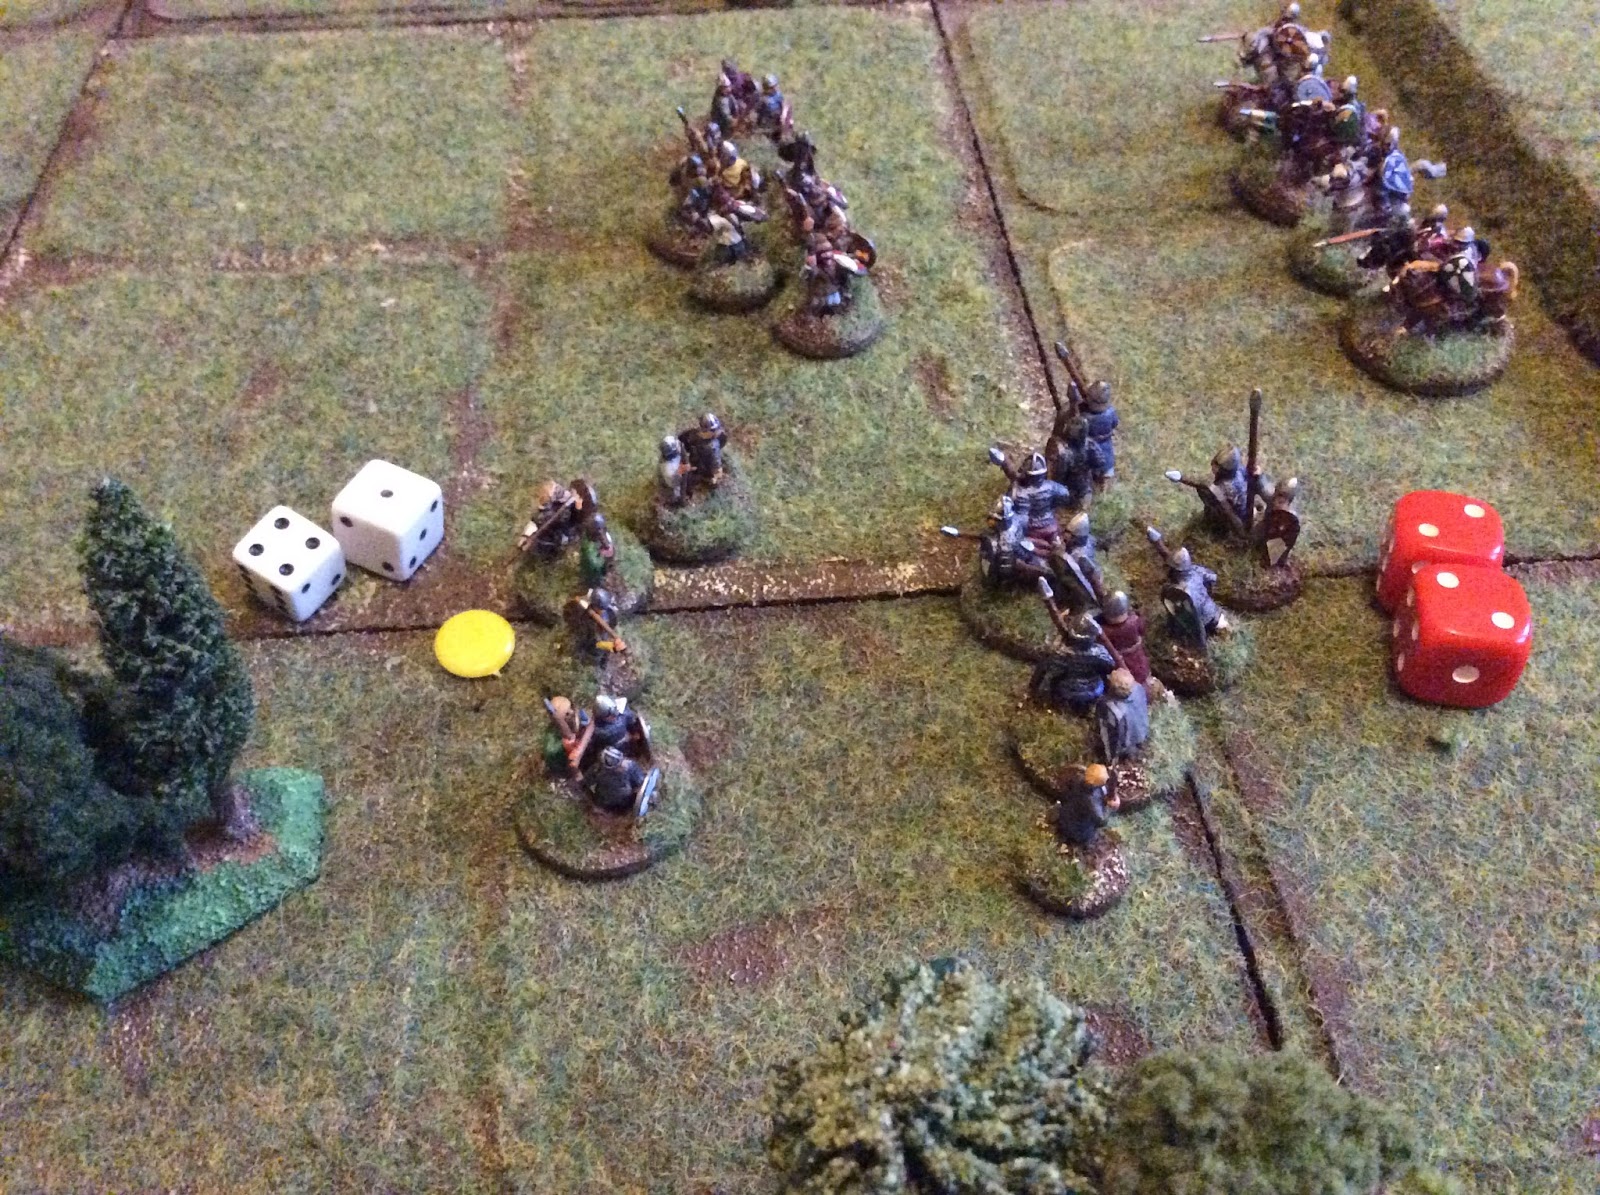
Initial deployment. From left to right the Normans have Mounted Men-at-arms, Archers, Foot Serjeants, Mounted Men-at-arms with Geoffrey and finally Foot Serjeants.
The Anglo-Saxons have Yeomen, Serjeants, Leofric's Men-at-arms, Serjeants and Yeomen, all on foot.
There are several hills and a small clump of trees. The square grid has no effect on play.

Leofric moves forward but his men are too busy looking at the enemy to notice and remain in place. The Norman foot units advance while their betters chat amongst themselves on horseback.

Leofric bellows for his men to shift it and they finally get moving. The Norman foot continue marching towards the Anglo-Saxons while the mounted units look on.

The Yeomen on the left get a bit ahead of the line in their eagerness to make up for their initial slowness and the Norman Archers move forward to bring them into range while the Mounted Men-at-arms reluctantly move up to support them in case they get into trouble.

The Anglo-Saxons move their line forward and the Norman Archers get to loose some arrows in their direction. Five hit, and with an armour rating of only two the Yeomen lose two men (casualties are determined by dividing hits by armour and dropping any fractions), They easily pass their courage test for taking casualties.

The mounted unit supporting the archers moves into position to charge when the time is right.

The rest of the Anglo-Saxon line advances while the Normans seem momentarily paralysed by indecision.
The Mounted Men-at-arms charge in, killing four Yeomen for the loss of only one of Normandy's finest.

The Yeoman's courage fails them and they flee the field!

The Archers now target the Foot Serjeants and manage to kill one of them.

Leofric's men continue to creep forward while some Norman foot move up to support the Archers.

The Archers maintain the pressure on the end of the Anglo-Saxon line, causing another casualty.

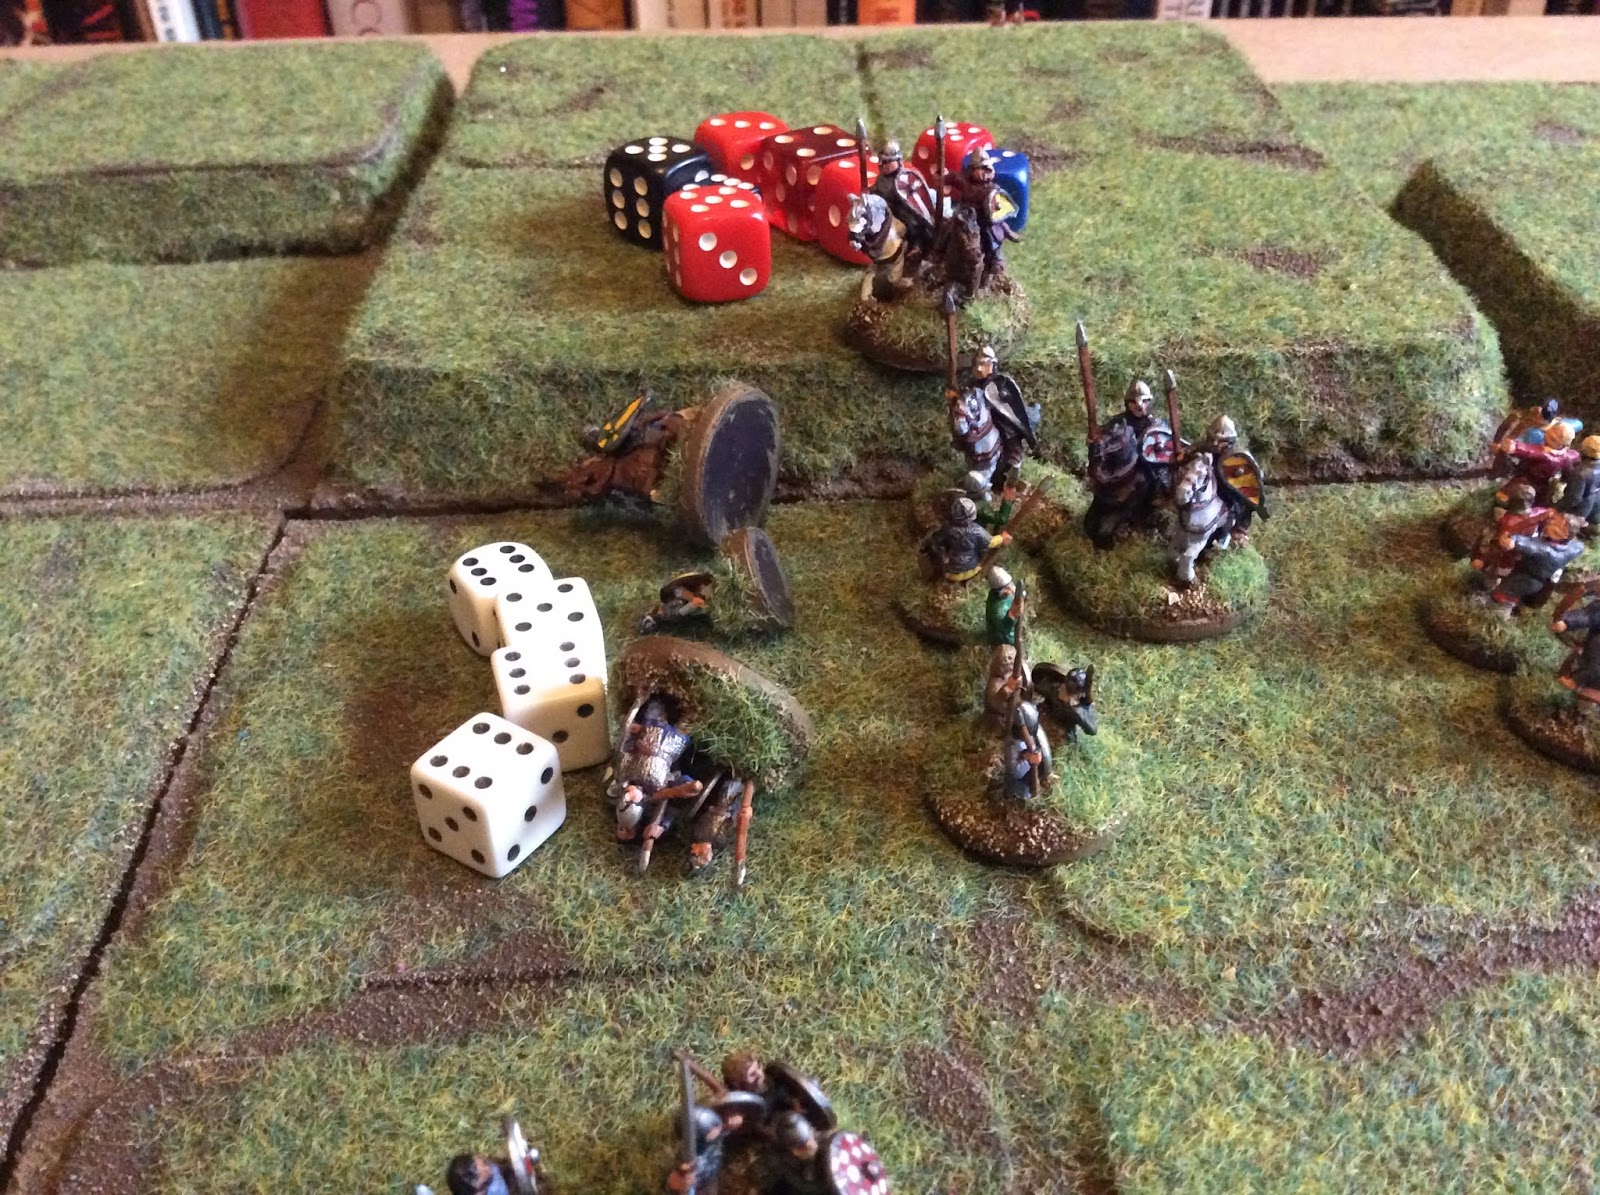
The Norman Foot Serjeants charge Leofric and kill one of his companions for no loss to themselves.

Leofric is forced back and the Norman left advances, sensing victory.

Leofric charges back into the fray and cuts down two of the enemy. One of his companions falls mortally wounded by his side.

The Norman kights charge the foot unit softened up by the Archers killin anther two at the cost of one of their own.

But their courage fails them and they fall back in disorder.

Both sides shout insults as their steel their nerves to strike again.

The Anglo-Saxon left charges the disordered horsemen to their front and reduce their strength by two more knights for the loss of one man.

This time the horsemen stand and the foot retreat, both sides in disorder.

Then Leofric goes in again, killing three for the loss of one.

The Normans fail the morale check and fall back disordered. Leofric's companions are reduced to half strength, so will only be getting six dice in melee instead of twelve from now on.

The Yeomen on the Anglo-Saxon right get overconfident and charge. And lose three of their number for one of the enemy. There's a time and a place for enthusiasm to get stuck in, this wasn't the time or the place.
The Yeomen fall back in a panic and the Normans only just pass their morale check.

Then the Norman leader gets involved, killing two for the loss of one. He remembers he's especially vulnerable to falling in combat but fortunately survives.

The Anglo-Saxons fall back in disorder as the knights reform ready to charge in again.

The Archers cause another loss to the Foot Serjeants. (The Norman unit on the hill failed a rally test I forgot to take a picture of, and fell back with the unit being reduced from two figures to one.)

The Serjeants fail their courage test and fall back losing another man who remembered he had to be somewhere else, urgent appointment, sorry, really can't be late, bye and good luck.
At this point Leofric realises he is losing. Only one thing for it, challenge Geoffrey to single combat.
Geoffrey weighs up his options in an instant. He could refuse the challenge but his men might lose heart if he did so. But Leofric was the better fighter, the odds were he would triumph and Geoffrey would die, causing his men to lose heart. What to do, what to do?
Geoffrey accepts, better death than dishonour.

They close, swords ring as their men pause to watch, insults are traded, they cut, parry, thrust, then they break off, returning to their men with honour satisfied but neither injured.
(Geoffrey would have won but for Leofrics skill he diced for at the start of the game, making him harder to hit,)

The Anglo-Saxons have to try to rally their disordered units, with mixed results. The unit on the left falls back again, losing another figure, the one in the centre passes and the one on the right routs.

Things are looking good for Geoffrey. Leofric is isolated with only two of his companions left beside him. Both Serjeant units are reduced in strength and one is disordered. The Yeomen have all fled.
Now to finish this thing off!

Geoffrey charges! Both sides lose two men, and one of them is Geoffrey!!!
All Norman units have to take a morale test for the death of their leader, and they all pass. The Anglo-Saxon unit that killed him fails their test for casualties taken and falls back disordered.

Morale test see the unit to the left fall back disordered and lose another figure, the one on the right rallies.

And Leofric falls back voluntarily, time to think about getting out of this mess.

Knights charge again, a man falls on either side.

The knight's morale falters, with the battle all but won why risk noble blood when there are foot soldiers with pay to earn? (The Mounted Men At Arms should really have routed, but I kept them on the field but didn't let them do anything from then on, it seemed more realistic given the overall situation.)

The Norman foot charge in and cause a casualty. But where are the Anglo-Saxon hits?

And all they needed was a four or higher...

And then they failed the morale check, but they didn't rout.

Well, not until the rally phase, then they routed.

Their rout meant half the force was gone, so another round of morale checks for that. Another unit routed, leaving Leofric and his two surviving companions alone.

And wouldn't you know it, there's a morale check for being the only unit left. Didn't rout though, just a fall back disordered.

Leofric is not having a good day. Admittedly, Geoffrey had a significantly worse day, being dead now.

The Normans close in but Leofric rallies.

Falling back.

Without any mounted units pursuing he can't be caught. Leofric lives to fight another day, defeated but not disheartened.
I have to say that was a lot of fun to play. I need a few more items before I can try all the scenarios, some wagons and pack mules, a civilian figure or two, and of course some medieval or dark ages buildings. The author has similar rule sets for pike and shot and colonial wars, so if I still feel as positive after a few more games I'll be getting those too.
Next up I'll try out some of my Wars of the Roses figures, lets see how things go with archers on both sides. 😃
Great stuff!
ReplyDeleteGreat stuff!
ReplyDeleteVery good. My favourite ruleset.
ReplyDeleteAre you aware of the Dux Rampant forum where you can find information about fitting the rules for other periods and places? I use them for Dark Ages, as well.
I've seen it, thanks, because of it I'm tempted to do so many periods using these rules plus to get Pikeman's Lament and The Men Who Would Be Kings.
DeleteIs that a 2' square board you are playing on and what scale are the figures, please?
ReplyDeleteI could do with going to a small table. The spare bedroom will be needed for visiting grandchildren soon.
It's 2' by 2'8". The figures are 15mm and I used cm rather than inches for all measurements during the game.
DeleteThat looks lots of fun. Great write up.
ReplyDelete